Screen Burn-In vs Image Retention: The Grey-Screen Test That Tells You Which You Have
You glance at a grey loading screen and there it is: a faint outline of your taskbar, or the ghost of a window you closed an hour ago. Before you panic about a ruined panel, there's good news — most of what people call 'burn-in' isn't burn-in at all. It's image retention, and it goes away on its own. But a small number of cases really are permanent. This guide gives you the exact test to tell them apart, honestly explains what a browser test can and can't do about it, and covers prevention and warranty claims for when it really is burn-in.
Image retention vs burn-in: what's actually different
Both faults look the same at first glance — a faint, static shadow of something that used to be on screen, usually a taskbar, a window border, a channel logo, or UI chrome that sat in one place for hours. The difference is whether the panel recovers.
- Image retention is temporary. On LCD panels it's usually the pixel's transistor holding a slight residual charge after displaying the same shade for a long time (dielectric relaxation) — the liquid crystal doesn't fully relax back to neutral. OLED panels get a milder version too: localised, temporary wear the panel's own compensation hasn't caught up on yet. Either way, it fades — minutes to a few hours.
- Burn-in is permanent, uneven aging of the display material itself. Each OLED subpixel is an organic compound that dims slightly every time it lights up; a static taskbar or logo ages its pixels faster than the ones around it, leaving a real physical brightness difference with nothing left to "relax" back. True permanent burn-in on LCD is much rarer, but sustained localised stress can occasionally leave a faint, slow-to-fade mark too.
The practical rule: if it fades, it's retention. If it's still there after a proper wait, it's burn-in.
The grey-screen test: how to tell them apart
Don't judge this on your desktop wallpaper or a video — busy content hides a faint ghost. You need a flat, uniform field, and the mid-tones are the most revealing part of it. Pure black and pure white have very little room for a small brightness offset to show; a 50% grey field has plenty.
- Turn off auto-brightness and dim the room so glare doesn't wash out a faint mark.
- Fill the screen with a solid mid-grey field and scan corner to corner for any shape — a rectangle, a bar, a logo — that's slightly brighter or darker than the surrounding grey.
- Also check a couple of darker grey steps (10–20%) and a near-white step. Retention and burn-in are most visible in mid-tones and shadows, and can vanish entirely in pure white.
- Note where the mark is and how strong it looks, then leave the screen off or on a full white field for at least 10–15 minutes (OLED: try an hour if you can; LCD retention can occasionally take several hours).
- Reload the same grey field and compare. Gone or clearly fainter: retention. Same strength, same shape: likely burn-in.
What this test can — and can't — do
Be clear-eyed about what a browser-based test achieves here. It is genuinely reliable for revealinga faint retained image against a clean field where your normal desktop would hide it, and fordistinguishing retention from burn-in via the fade-and-recheck method above. That part works — it's the same principle display technicians use.
What it cannot do is repair genuine OLED burn-in. There is no full-screen colour or pattern a web page can show that reverses physically uneven wear in the organic emissive layer. Real recovery — where it's possible at all — comes from the panel's own built-in pixel-refresh / compensation cycle(LG calls theirs "Pixel Refresher"; most OLED TVs and monitors run an equivalent automatically after several hours of cumulative on-time, or when you power them off), from simple time, or from manufacturer service. Anything a web page displays is, at best, a way to exercise the panel while you wait for that built-in process — not a fix in itself.
Clearing temporary retention
- Give it time first. Most retention clears within an hour or two of not showing the offending static content — check again before trying anything else.
- Run a full white or colour-cycling field over the area for 10–30 minutes. It won't "erase" anything by itself, but it stops reinforcing the pattern and gives the panel a uniform load to relax against.
- Let the display sleep or power off for a few hours or overnight. Many OLED panels only run their internal compensation cycle when powered down, so this is often what actually clears it.
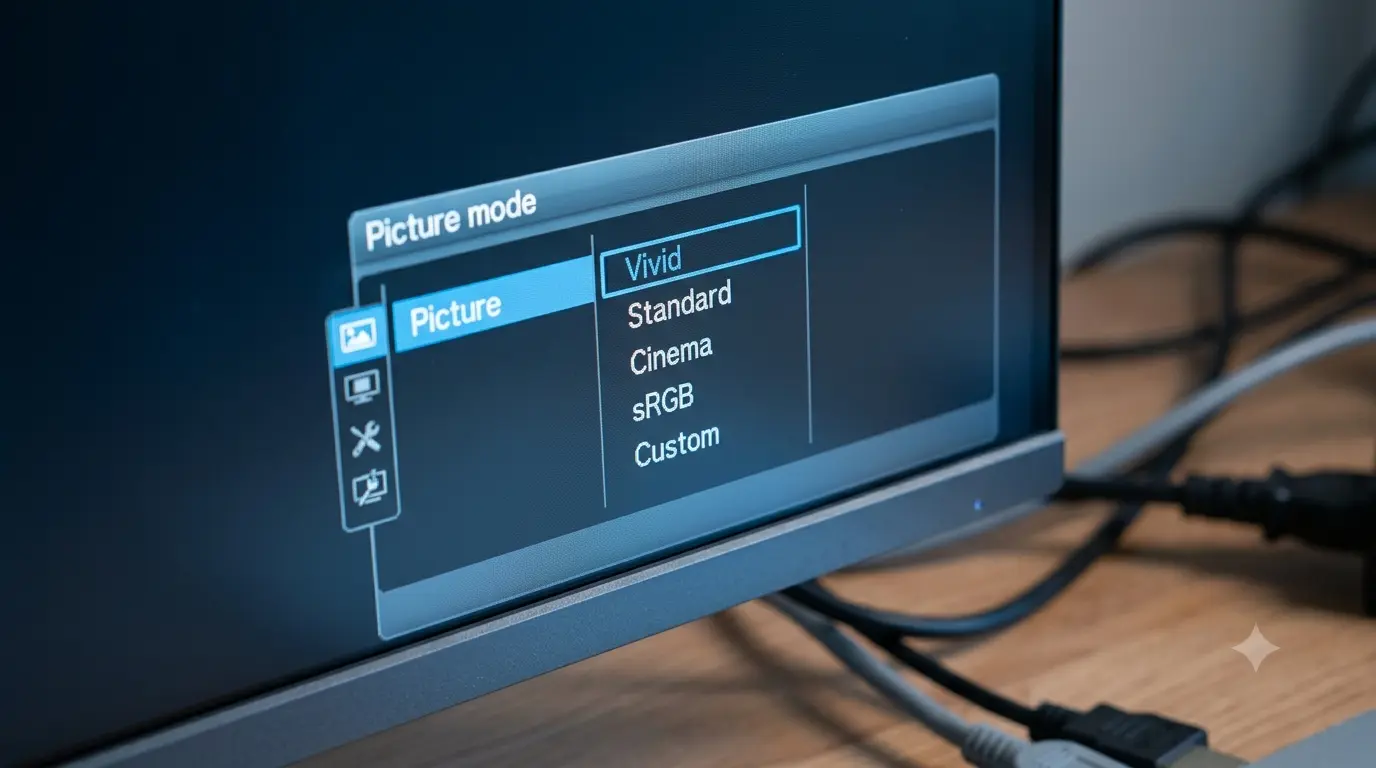
- Check the monitor's menu for a manual "Pixel Refresh" or "Panel Maintenance" option and run it if your usage pattern (long sessions, static UI) suggests it's due.
If it doesn't fade: burn-in and what actually helps
If the same mark is still there at full strength after a proper wait, you're most likely looking at real burn-in. At that point, be honest with yourself about your options:
- There's no user fix. Software tricks, "burn-in removal" apps and pixel-cycling patterns exercise the panel but don't reverse existing uneven wear.
- Manufacturer pixel-refresh cycles help marginally by evening out surrounding pixels' wear to reduce the contrast between the burned-in area and the rest of the screen — they don't restore the burned-in pixels themselves. See LG's own troubleshooting guidance on image burn-in.
- Check your warranty. Some OLED monitor and TV makers offer specific burn-in coverage (commonly one to three years) separate from the general warranty.
- Document it with dated photos of the grey field before contacting support — it's the evidence a service claim will ask for.
Preventing it going forward
- Auto-hide the taskbar and avoid pinning bright, static UI elements to the same spot for hours at a time.
- Vary your content and take breaks from static dashboards, tickers, or paused video — the classic causes.
- Use a screen saver or sleep timer so an idle static screen isn't left displaying unattended.
- Enable pixel-shift or logo-dimming if your OLED offers it, and lower brightness for long, static sessions — OLED wear scales with how hard each subpixel is driven.
When it's a warranty or return issue
A brand-new panel that shows retention within days of light use — especially on an LCD, where true burn-in is rare — is a legitimate reason to flag a defect with the retailer while your return window is open. A mark that develops gradually on an OLED panel after months of genuinely static, high-brightness use is closer to expected wear, and your recourse is the manufacturer's burn-in warranty (if any) rather than a straightforward return. Either way, run the grey-field test, document what you see and when, and don't assume the worst until you've given it the fade-and-recheck a fair chance first.