How to Test a New Monitor Before Your Return Window Closes (Complete Checklist)
You have a return window, and it's shorter than you think. Most monitor defects — a stuck pixel, uneven backlight bleed, a panel that won't hit its rated refresh rate — are invisible during a five-minute unboxing but obvious once you know where to look. This checklist walks through every test in the right order, takes about fifteen minutes, and catches the faults that are easy to prove now and nearly impossible to argue about later.
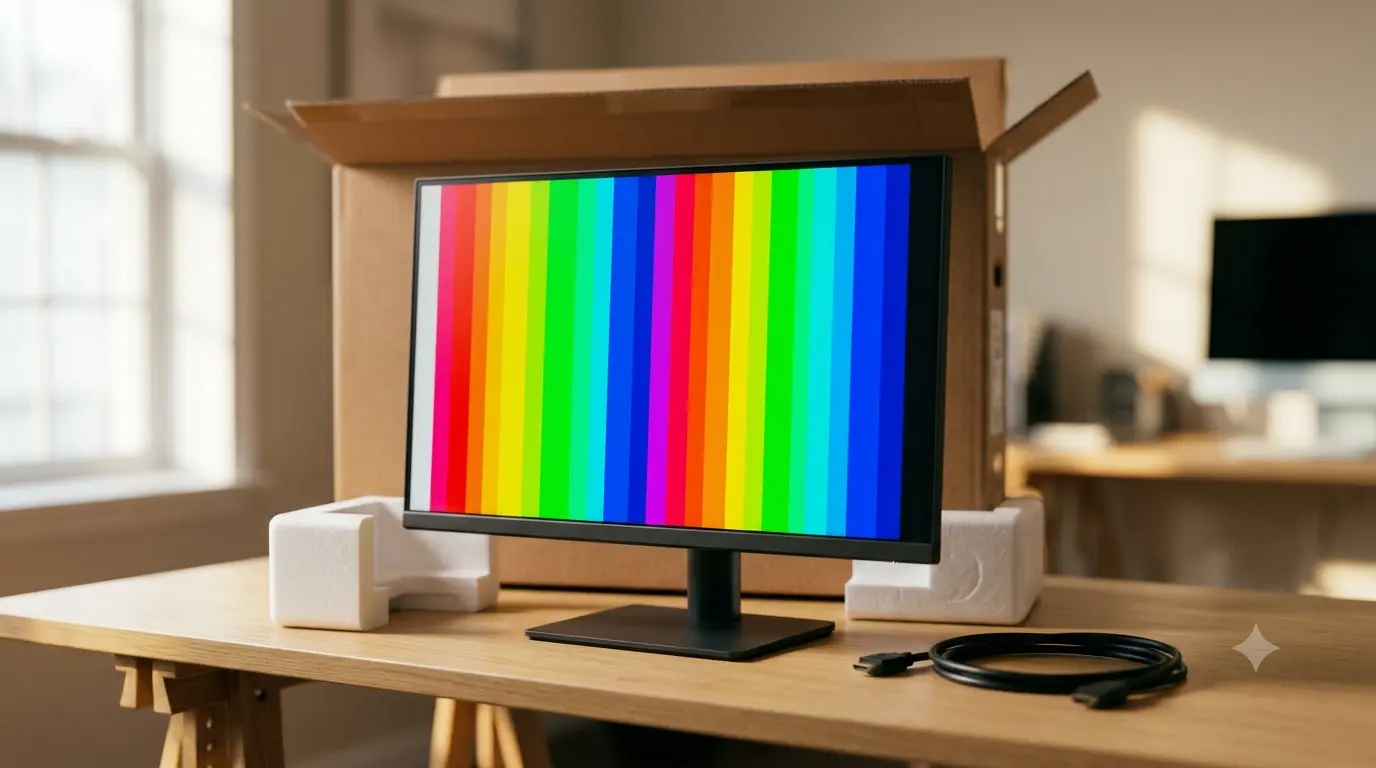
Know your return window before you do anything else
Retailers and manufacturers run on two completely different clocks. A store's return window is typically 14–30 days and doesn't care why you're returning the monitor — a single dead pixel or a bit of extra bleed is enough. The manufacturer's warranty, on the other hand, usually only covers defects that exceed a published pixel policy threshold, and getting a panel swapped through warranty can take weeks.
- Keep the box and all packaging until you've finished testing — you'll need it for a clean return.
- Don't register the product or install "enhancement" software yet. Some retailers treat that as acceptance of the unit as-is.
- Set a calendar reminder a few days before the window closes, not on the last day — shipping a return takes time too.
With that clock in mind, here's the order to test in. Each step below takes two or three minutes and links straight to the tool you need — no software to install, everything runs in your browser.
Step 1: Dead and stuck pixels
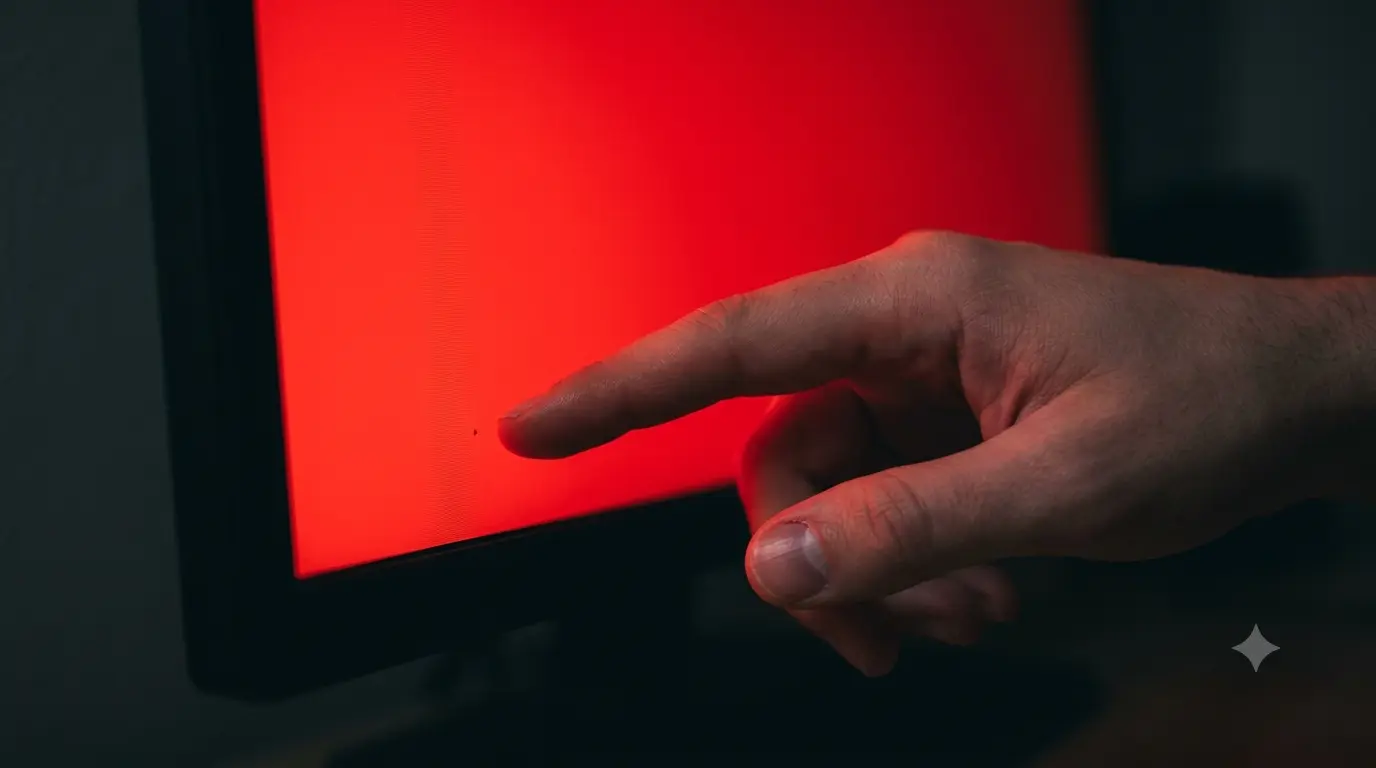
Start here because it's the fastest, most unambiguous fault to find. A dead pixel stays black on every colour; a stuck pixel is frozen on one colour (usually red, green, blue, or white) no matter what's on screen. Both are easiest to spot against a solid, full-screen colour rather than a busy desktop.
Step 2: Backlight bleed and uniformity
Backlight bleed shows up as bright patches near the edges or corners of the screen when you display pure black — most visible in a dark room. Uniformity issues (clouding, mura) show up as faint blotchy patches on a mid-grey fill. Both are easy to miss with the lights on and a bright desktop behind you, so dim the room for this one.
Step 3: Brightness and greyscale
A greyscale ramp from black to white should look smooth, with every step distinct — no crushed shadows where several dark greys look identical, and no blown-out highlights where the lightest steps merge into pure white. Crushed shadow detail is a common sign of an aggressive or miscalibrated panel, and it's worth catching before you spend hours adjusting settings that won't fix a hardware limitation.
Step 4: Colour
With full-screen colour bars and swatches on screen, look for an obvious tint (a "warm" yellow-orange cast or a "cool" blue cast across what should be neutral grey), oversaturated or washed-out primaries, and any patch of the screen that looks a noticeably different colour from the rest — a sign of panel-level colour non-uniformity rather than a settings problem.
Step 5: Gradient and banding
A smooth gradient should fade from one colour to the next without visible steps. Obvious hard bands — especially in blues and dark reds — usually mean the panel is 6-bit with dithering (common on budget IPS and TN panels) rather than a true 8-bit or 10-bit display, or that dithering itself is disabled or broken.
Step 6: Black level
Blacks should look genuinely black, not washed-out dark grey, and shadow detail in near-black content should still be visible rather than crushed into a single flat tone. This matters most on VA and OLED panels marketed for their contrast — it's worth confirming the unit you received actually delivers it.
Step 7: Refresh rate
If you paid for a 144Hz, 165Hz or 240Hz monitor, confirm you're actually getting it. It's a common trap: Windows and some cables default to 60Hz even on a fast panel, and it's easy to not notice until you specifically check. This also verifies the cable you're using can carry the full signal.
Step 8: Touch (if applicable)
Touchscreen monitors and all-in-ones should register accurate, responsive touch across the entire panel, including corners and edges, and handle multiple simultaneous touch points without dropping or ghosting inputs. Dead zones near the bezel are a common factory defect worth catching immediately.
If you find a fault
Don't panic over one borderline result — cross-reference it against the specific guide for that fault (bleed vs. glow, dead vs. stuck pixel, and so on) before assuming it's a defect. If it holds up:
- Document it. Photograph the issue on the relevant test pattern, in the same lighting you tested in, with a timestamp.
- Check the manufacturer's pixel or panel policy if it's a pixel or uniformity issue — some faults are within spec.
- Contact the retailer, not the manufacturer, first. A return/exchange within the window is faster and has no defect threshold to clear.
- Re-test the replacement using this same checklist — panel lotteries mean a second unit isn't guaranteed to be perfect either.
Fifteen minutes now against weeks of warranty back-and-forth later is an easy trade. Run the full checklist the day your monitor arrives, while the box is still upstairs and the return window is still wide open.