Monitor Colours Look Washed Out or Wrong? Here's How to Fix Them
Colours that look flat, grey or milky — instead of the punchy image you expected — almost never mean a broken panel. In the vast majority of cases it's one setting fighting another: your GPU and monitor disagreeing about signal range, Windows quietly tone-mapping for HDR, a driver update that reset your profile, or a picture mode doing something unhelpful. This guide walks the causes in the order they're worth checking, gives you the exact fix for each, and shows you how to confirm it actually worked before moving on.
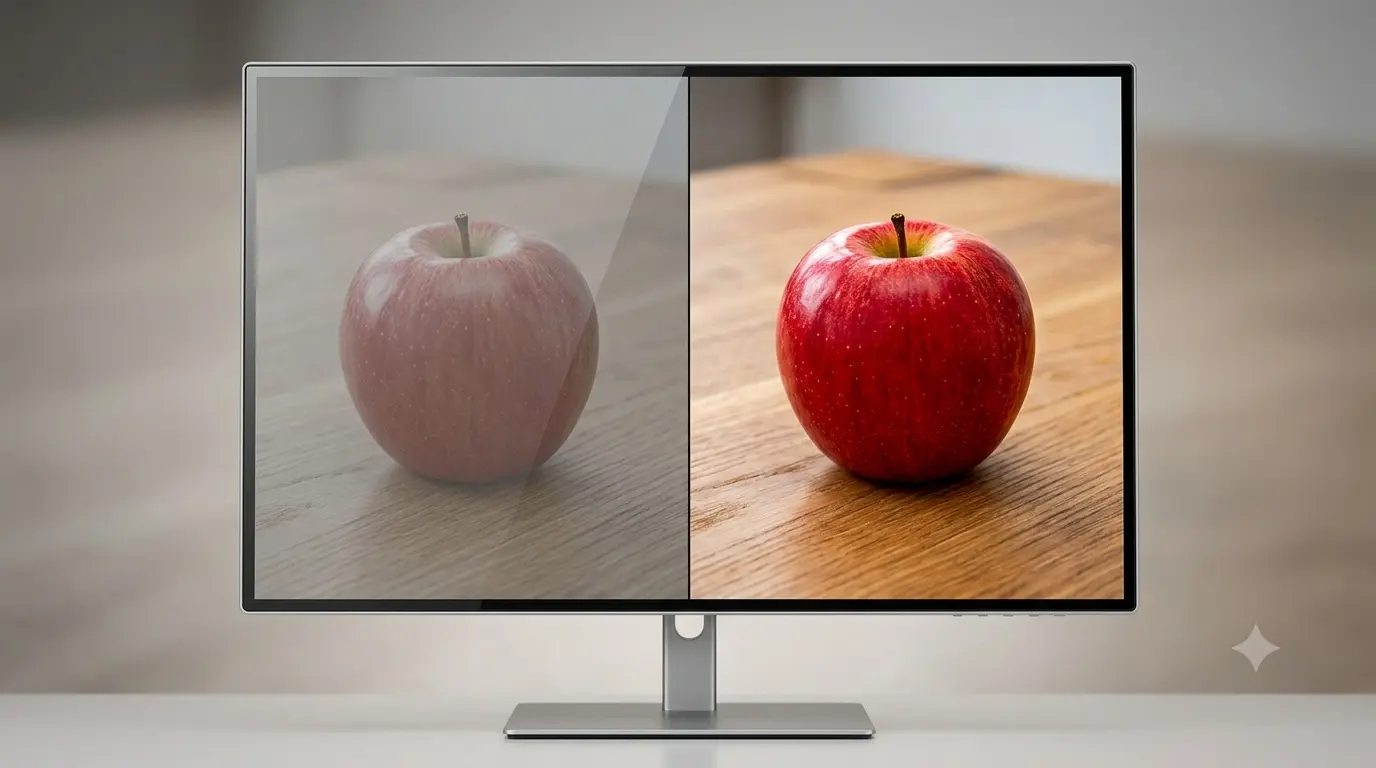
Start here: confirm it, then work the list in order
Open our screen colour test and look at the pure white field first. If it looks grey, dim, or has a visible tint rather than a clean, bright white, you have a real issue to chase — not just a perception thing. Then work through the causes below roughly in this order: they're listed from "affects the whole signal path" down to "affects one panel," which is also, not coincidentally, the order of how likely each one is.
Cause 1: limited RGB colour range over HDMI
This is the single most common cause of washed-out colour on a PC-to-monitor HDMI connection, because it's a silent mismatch: your GPU can output either Full range (0–255) or Limited range (16–235) — the range TV broadcast signals use. If your GPU sends Limited range but your monitor expects Full (or the reverse), blacks lift to dark grey, whites dim to off-white, and everything in between compresses into a narrower, flatter band. It looks exactly like "washed out."
- NVIDIA: Open NVIDIA Control Panel → Display → Change Resolution → find Output Dynamic Range and set it to Full. SeeNVIDIA's own guide to changing the RGB range.
- AMD: AMD Software → Display → look for Pixel Format / Color Depth and set the range to Full RGB (0–255) rather than Limited/YCbCr Limited.
- Intel: Intel Graphics Command Center → Display → Custom Resolution / Color, set the dynamic range to Full.
- Check the monitor's own menu too — some have an "HDMI Black Level" toggle (Normal/Low, or Limited/Full). It needs to match what the GPU is sending, not fight it.
Re-test: reload the colour test's white and black fields. White should look clean and bright, black should look genuinely dark rather than hazy grey.
Cause 2: Windows HDR is on, but your content is SDR
HDR mode expects HDR-mastered content and tone-maps everything else against it. If you've turned on HDR in Windows but you're looking at ordinary SDR desktop apps, photos or web pages, the result is very often flat, dim, and desaturated — the opposite of what people expect HDR to look like, which is exactly why this trips people up.
- Go to Settings → System → Display and check whether HDR is on.
- If you don't have HDR content to watch right now, simply turn it off — SDR content will look correct again immediately.
- If you want to keep HDR on for when you do watch HDR content, use the Windows HDR Calibration appand its SDR content brightness slider to raise SDR output until it matches how it should look — see Microsoft's HDR settings guide.
Re-test: with HDR off (or the SDR slider set), the white field should look bright and neutral again — not grey or dim.
Cause 3: a driver update quietly reset your colour profile
GPU driver installers routinely reset display settings to their defaults — digital vibrance/saturation sliders, the active ICC colour profile, and sometimes the scaling mode. If your colours were fine before a driver update and went flat right after, this is almost certainly it.
- Open Windows Settings → System → Display → Colour Management and confirm your monitor's ICC/ICM profile is still listed and set as default for that display.
- Reapply it if it's missing — reinstalling the profile from the monitor manufacturer's site if you had a custom one.
- Open your GPU control panel and check the digital vibrance / saturation slider hasn't been reset to a lower default.
Re-test: the colour accuracy test's hue wheel should show clean, distinct hues rather than a flat, uniformly pale wheel once the profile is reapplied.
Cause 4: an over-vivid (or oddly flattened) picture mode
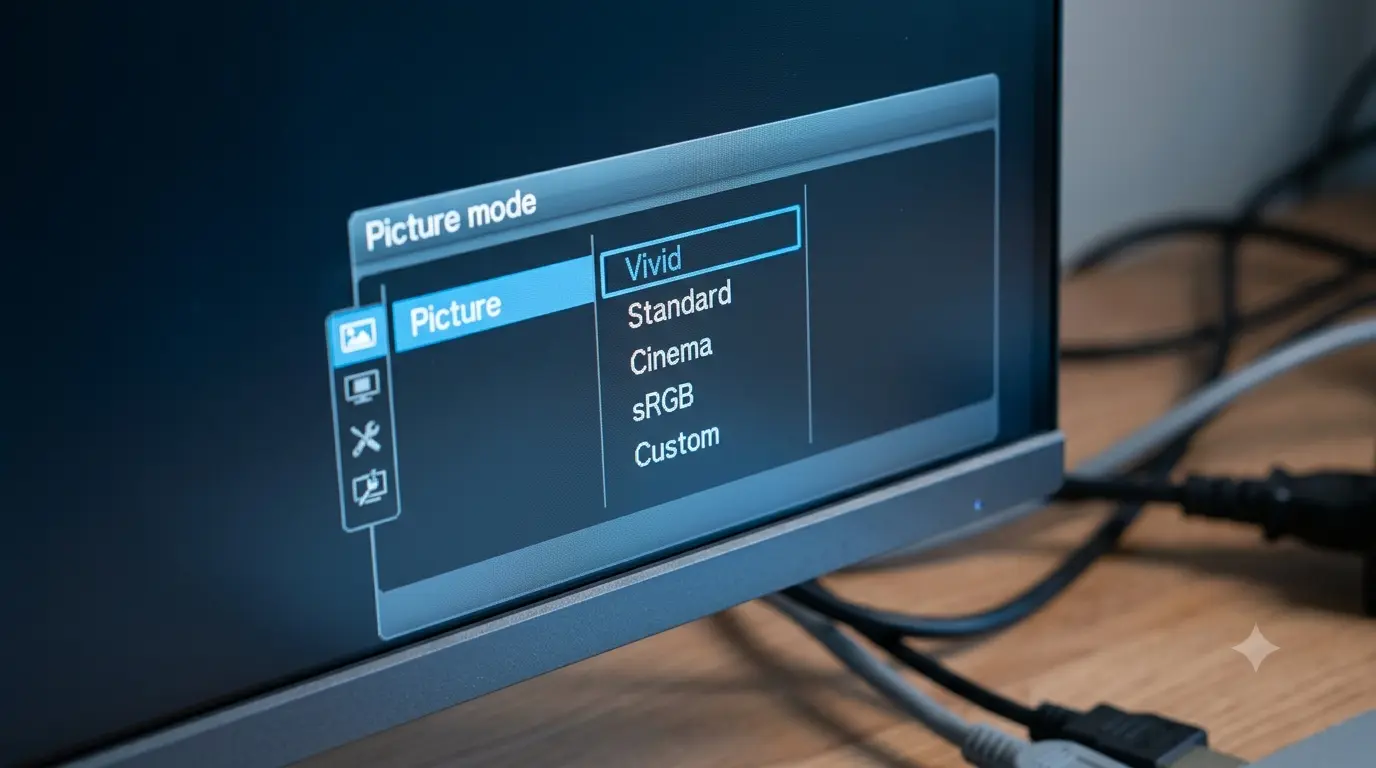
It sounds backwards, but an aggressive "Vivid" or "Dynamic" picture mode can produce a washed-out look rather than a punchy one. Many of these modes pair boosted saturation with dynamic contrast or a lifted black level — designed to make the panel look bright in a showroom — and that raised black point is what actually reads as hazy or flat, even though individual colours are technically oversaturated. A "Standard/Eco" mode with brightness and contrast locked low can look washed out for the more straightforward reason that it simply is dim and flat.
- Open your monitor's OSD and switch the picture mode to sRGB, Standard, or Custom — avoid Vivid, Dynamic, and Game modes for general use.
- Turn off any dynamic contrast or "local dimming"-style feature that adjusts the picture based on content — it works against consistent, accurate colour.
- With a neutral mode selected, manually set brightness and contrast rather than trusting an "Auto" preset.
Re-test: the accuracy test's tint swatches (warm/neutral/cool) and 8-step grey ladder should look like a clean progression with no colour cast, and the saturation ramps should fade smoothly instead of jumping straight to solid colour.
Cause 5: an actual panel or white-balance defect
If you've worked through all four software causes and the colour test's greys still look tinted, or one channel on the RGB test looks visibly weaker than the other two, you may be looking at a genuine hardware issue — an uncalibrated white balance from the factory, an ageing backlight with colour shift, or a defective panel.
- Try the monitor's RGB gain controls in its OSD (sometimes under "White Balance" or "Color Temperature") to manually correct a warm or cool cast.
- If a gain adjustment can't get the greys neutral, or the issue is patchy rather than uniform across the panel, that points to hardware rather than a setting.
- If the monitor is new, this is worth a return or exchange rather than living with an OSD workaround — you shouldn't need to fight your monitor's hardware to get correct colour out of the box.
Bringing it together
Work the list top to bottom — range and HDR settings account for the large majority of "washed out" complaints, and they're the fastest to check and fix. Confirm each fix with the colour accuracy or RGB channel test before moving to the next cause, so you always know exactly which change fixed it. If you reach the bottom of the list with no luck, you've done the diligence to make a confident return or warranty claim instead of guessing.