Monitor Stuck at 60Hz? How to Test and Fix Your Refresh Rate
You paid for a 144Hz or 240Hz monitor, plugged it in, and everything still feels exactly like your old 60Hz screen. Before you assume the panel is faulty, know that this is almost always a settings, cable, or driver problem — not a hardware fault — and it's fixable in a few minutes once you go through the right checklist in order. This guide walks every real cause, including a Windows 11 power-saving feature that quietly throttles high-refresh displays and gets mistaken for a broken monitor more often than anything else on this list.
Why this happens in the first place
Both Windows and macOS frequently default a newly connected display to 60Hz, even when the panel is fully capable of more — especially right after a driver update, a cable swap, or first setup. The OS doesn't always re-detect the display's full capability automatically, so the higher refresh rate is available, it's just not selected. That makes this the very first thing to check before you suspect anything more serious.
Fix 1: set the higher rate manually in your OS
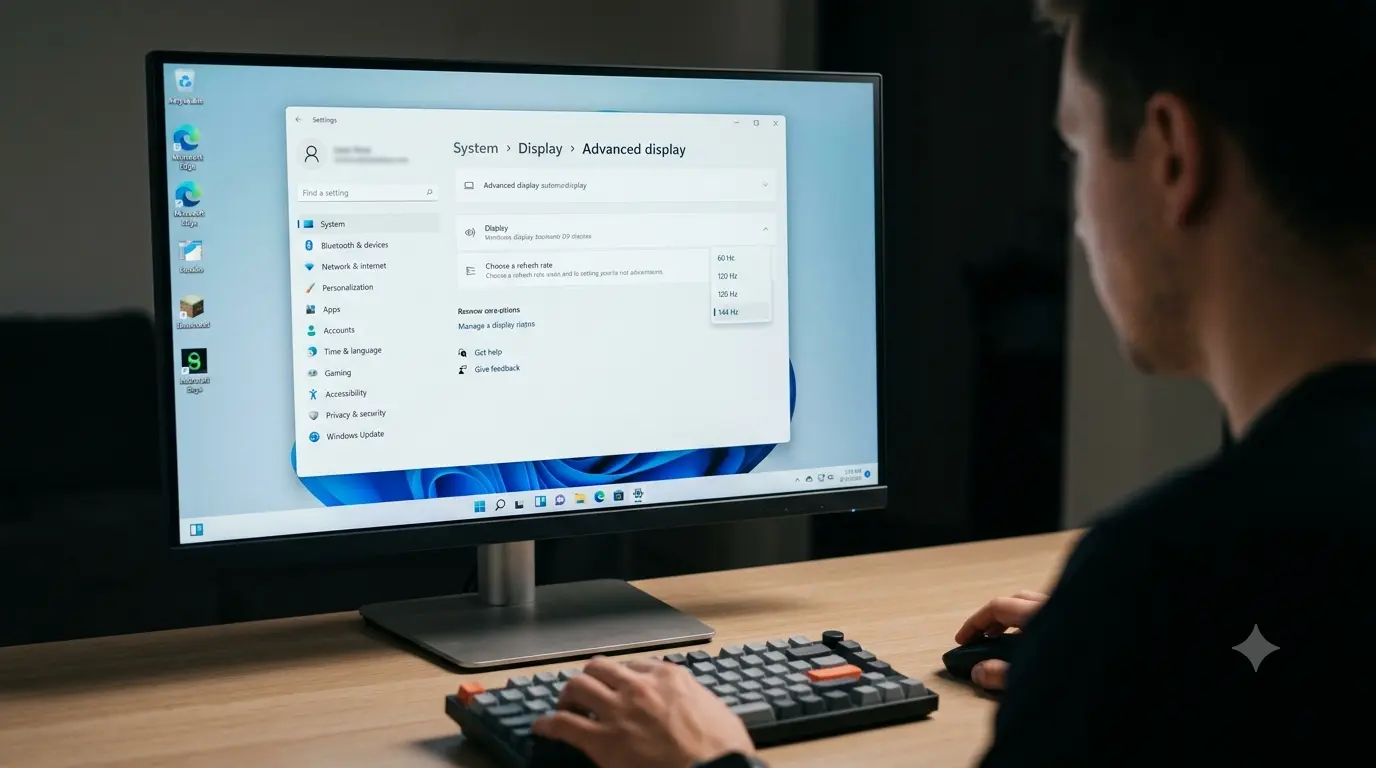
Windows 11: Settings → System → Display → Advanced display, then use the "Choose a refresh rate" dropdown for the display in question and pick the highest number offered. On older Windows versions the same setting lives under Display adapter properties → Monitor tab → Screen refresh rate. Full steps are inMicrosoft's own support article.
macOS: Apple menu → System Settings → Displays, select the external display, then choose the refresh rate from the Refresh Rate pop-up menu. If the option is missing or greyed out, Apple's guidance is direct: it's almost always the cable — you need one that actually supports the higher rate, connected to a Thunderbolt or DisplayPort-enabled port (seeApple's support pageon changing display refresh rate).
Fix 2: the one almost everyone misses — Dynamic Refresh Rate
If you're on a high-refresh laptop or an eligible external monitor and you've already set the refresh rate to 144Hz or higher, but the screen still feels like 60Hz during normal use, look forDynamic Refresh Rate (DRR) — a Windows 11 feature (Settings → System → Display → Advanced display) that automatically drops the display down to a lower rate to save power and battery life when the content on screen is static, then ramps back up under load. It's genuinely useful for battery life, but it means a quick glance at "current refresh rate" can show 60Hz even though the panel is perfectly capable of its full rated speed the moment something demands it.
Per Microsoft's documentation, DRR requires the display to support variable refresh rate and at least 120Hz — if you don't see the toggle at all, your display or GPU doesn't support it and this isn't your issue. If you do see it and a specific game or app seems capped, either turn the toggle off entirely or select a fixed rate from the dropdown instead of "Dynamic."
Fix 3: cable and port bandwidth limits
High refresh rates at high resolutions need real bandwidth, and an older cable or port is a hard ceiling no software setting can work around:
- HDMI 1.4 — capped around 60Hz at 1080p and can't do more than 30Hz at 4K.
- HDMI 2.0 — up to roughly 144Hz at 1080p, but only about 60Hz at 4K.
- DisplayPort 1.2 / 1.4 — comfortably drives 144Hz+ at 1440p, and can reach 4K at 120Hz+ using Display Stream Compression (DSC).
- HDMI 2.1 — enough bandwidth for 4K at 120–144Hz natively, the cable you need for a high-refresh 4K monitor.
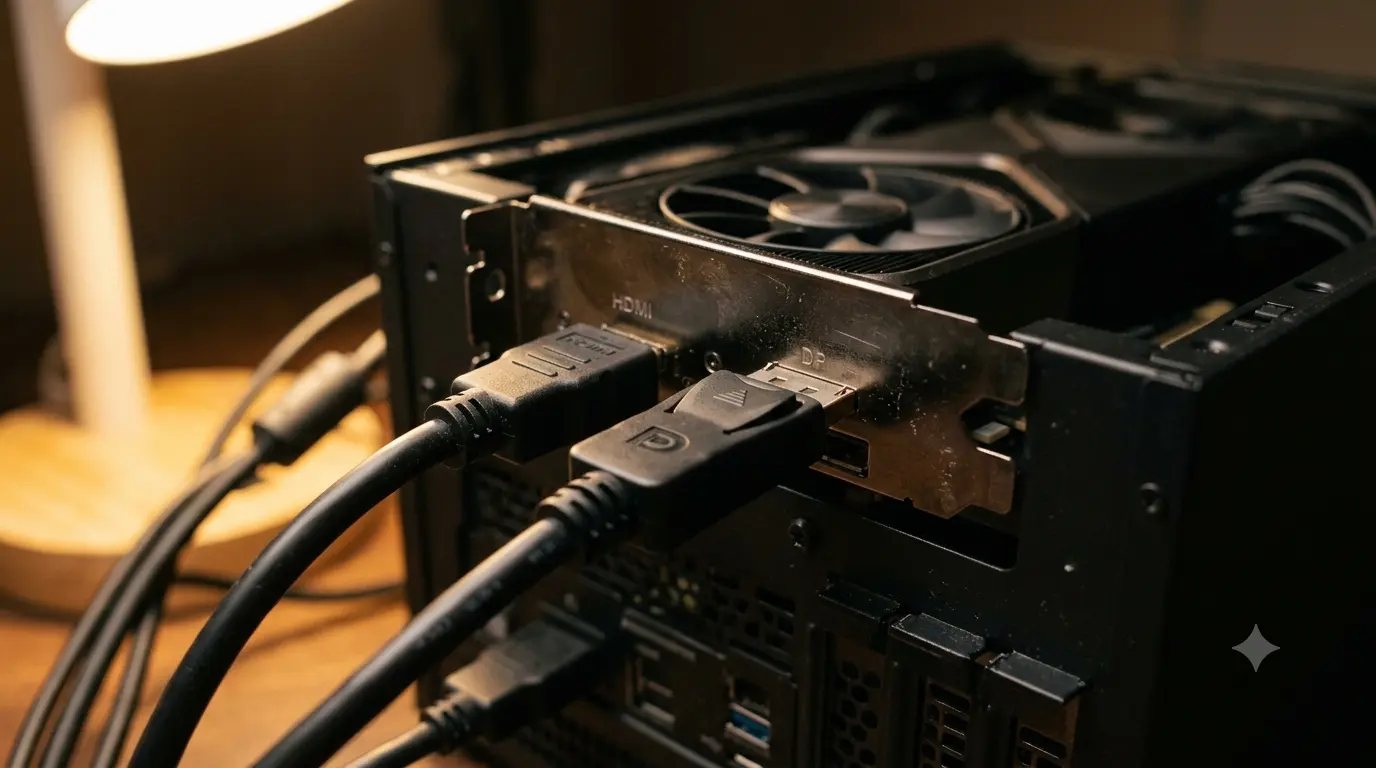
If you bought a 144Hz 4K monitor and plugged it into an older HDMI 2.0 port or cable (common on older GPUs, docks, and USB-C adapters), you will be silently capped at 60Hz no matter what you select in the OS. Check both ends — the port on your GPU and the port on the monitor — and use the cable the monitor shipped with as your baseline; it's matched to the panel's actual capability.
Fix 4: reinstall or update the GPU driver
If Device Manager shows your display as a generic "PnP Monitor" rather than its real model name, Windows isn't reading the display's EDID (the data that tells the OS what refresh rates it supports) correctly, and the available options in the refresh rate dropdown will be limited to a generic fallback. Update to the latest driver from NVIDIA, AMD, or Intel directly rather than relying on Windows Update, and if the problem persists after an update, a clean reinstall clears out stale display configuration that can cause this.
Fix 5: run native resolution
Not every resolution and refresh rate combination your panel supports is available at once — bandwidth is finite, and a non-native or custom resolution can quietly restrict which refresh rates are offered. Confirm you're running your monitor's native resolution first; if you need a resolution/refresh combination that doesn't show up in the standard list at all, a tool like Custom Resolution Utility (CRU) can add it manually, but that's an advanced step worth trying only after the fixes above.
Why "Windows says 144Hz" isn't proof
The refresh rate shown in your display settings is a request to the display and GPU, not a guarantee of what's actually being delivered — a marginal cable, a throttling GPU, or a background process can all cause the real frame delivery to fall short of what the OS reports as selected. If you've gone through every fix above and our refresh rate test still reads low, also run the screen tearing test: a display quietly running below its intended Hz often shows up as visible tearing or judder even before you notice the number itself, and our tearing guide covers what to do about it once your refresh rate is confirmed correct.
The honest limit
Not every "144Hz" monitor can do 144Hz at every resolution simultaneously — bandwidth is finite, and native 4K at 144Hz genuinely requires HDMI 2.1 or DisplayPort 1.4 with DSC, plus a GPU capable of pushing frames that fast in the first place. Some gaming laptops also intentionally cap refresh rate on battery power to preserve battery life, reserving the full rate for when they're plugged in — that's a deliberate design choice, not a bug to fix. If you've worked through every step here and you're still capped, the most likely explanation is a genuine incompatibility somewhere in the cable, port, or GPU combination rather than a setting still waiting to be found — worth confirming against your monitor's specific compatibility notes before assuming the panel itself is at fault.